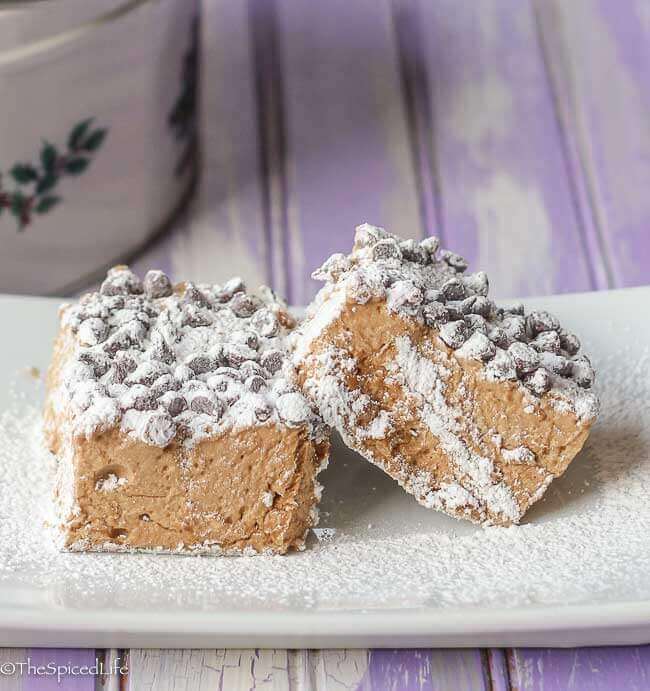
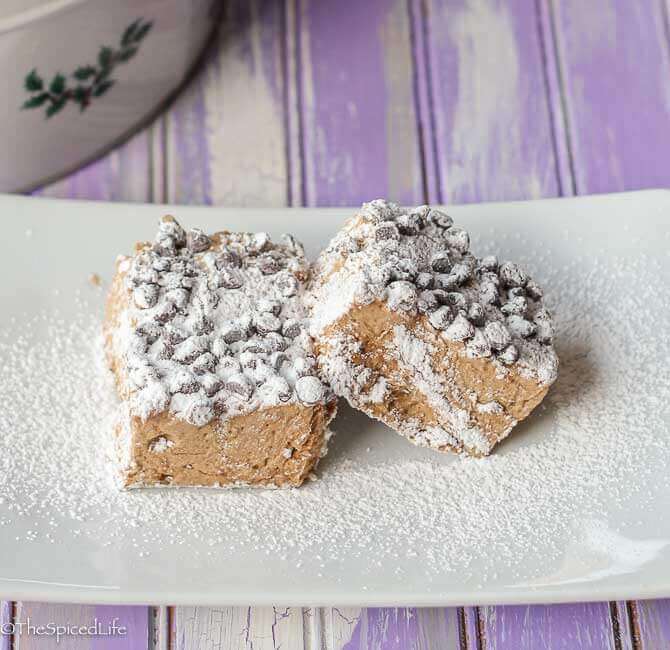
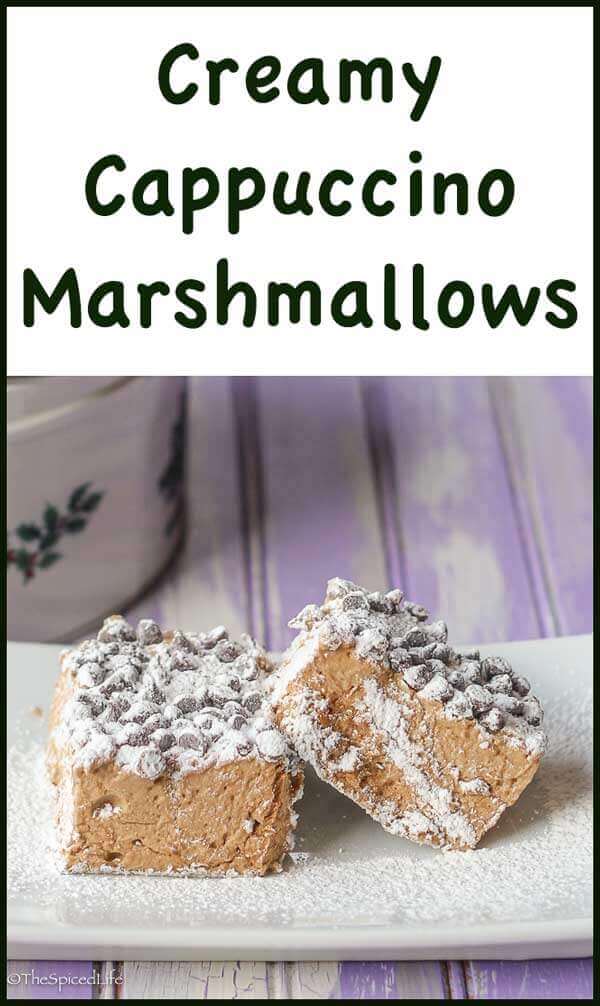
Creamy Cappuccino Marshmallows are the best marshmallows I have ever tried for eating out of hand. They are a perfect festive treat to add to your holiday cookie tins! [Note: I updated the photos in December 2016.]
I would not normally post such a similar recipe so close to the previous similar recipe. This is basically just a flavor variation on my Creamy Peppermint Marshmallows. [December 2016 Update: because this is a flavor variation, over the years I have made it different ways. I wanted to update the photos, but the photos are not identical. The difference came down to using liquid vanilla (at least a tablespoon) and coffee extract, which I only did because it was staring at me on the shelf when I went looking for the espresso powder. Either works fine, but as you may notice the extract results in a darker marshmallow. I also skipped the cocoa dredge and used a plain powdered sugar and starch dredge.]
 Original Photo
But holy cow if it was not one of the more inspired flavor combos ever! I usually prefer marshmallows for dissolving in hot chocolate–otherwise they are kind of sickly sweet confections to me. But these Cappuccino Marshmallows, tempered by the bitter espresso, are much less sweet and really hard to resist plain. I cannot stay out of them. I have had requests for the ratio of ingredients I used, so I decided they were worth a blog post, especially given how much we are loving them around here.

Original Photo
Some comments on the flavor ratio used: don’t skimp on the vanilla; if you cannot swing 4 beans, than at least use at least one tablespoon of vanilla extract. If you plan to dissolve the marshmallows in hot chocolate you might try increasing the espresso to give them a more pronounced coffee flavor, one that will hold up to the strong chocolate flavor (but be aware I have not tried it yet with more espresso so it may mildly change the texture).
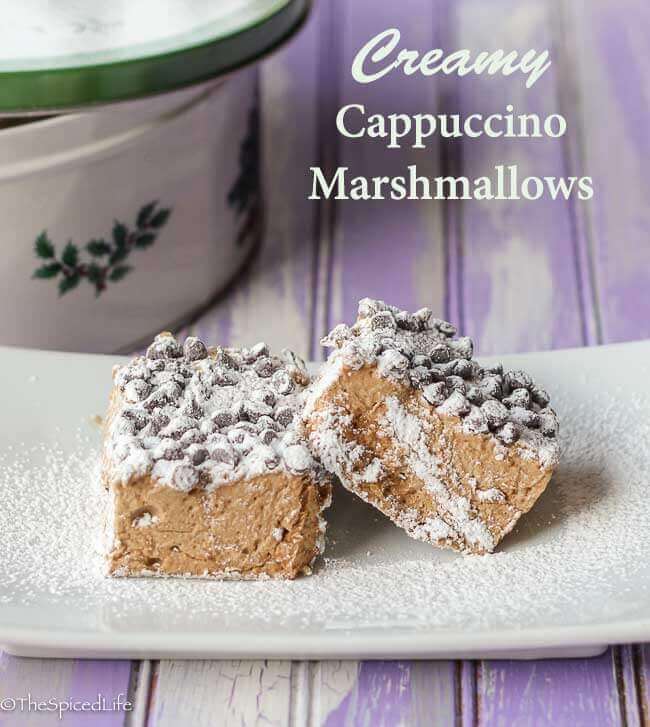
For a slightly more detailed account of marshmallow making, complete with step by step photographs, check out my Creamy Peppermint Marshmallows. Speaking of pictures, the simple fact of the matter is that I think marshmallows are prettiest before they are dredged in anything, so I took my photos as I sliced them–be aware they will be much darker after being dredged in cocoa powder (you can see smudges of cocoa powder because my fingertips were covered in the stuff as I sliced the marshmallows). [December 2016: I took these photos after dredging the marshmallows but I used a simple powdered sugar-starch mix. Over the years I have found the cocoa powder a tad messy.]
- 2 envelopes gelatin (I always use Knox)
- ⅓ cup + 3 T cold water
- 1⅓ cups + 2 T granulated sugar
- 1 cup + 3 T light corn syrup
- large pinch salt
- 9 T cold water (separate from water above)
- 1½ T espresso powder dissolved thoroughly in 1½ T warm water
- seeds scraped out from 4 vanilla beans
- approx. ½ cup powdered sugar
- ½ cup (or more, to taste) mini chocolate chips
- cocoa powder (2 parts unsweetened to 1 part sweetened) for dredging (or use a mix of ⅔ powdered sugar and ⅓ starch, such as corn or potato)
- Choose a 7 or 8 inch square nonstick pan (I have only tried nonstick--may work fine with others, I cannot confirm; Yockelson prefers thick marshmallows with a 7 inch square pan but I like smaller marshmallows plus I already owned an 8 inch square pan). Dump a heaping ⅓ cup of sifted powdered sugar into the pan. Shake it from side to side and use your fingers to "coat" the sides of the pan. The powdered sugar will stick in patches, which is fine. Leave it in the pan; it may be uneven.
- Place the gelatin in the bottom of the mixer bowl. Prepare the water measurements and set aside the larger water (1/3 cup + 3 T) beside it.
- Find a heavy bottomed, preferably copper or stainless steel, 2-3 quart saucepan. Add the 9 tablespoons of water, light corn syrup, sugar and salt to the pan. Place the pot on low heat and cover it while measuring the gelatin and ⅓ cup plus 3 tablespoons water.
- Dump the other water over the gelatin--it should sit for 15 minutes.
- While the gelatin is soaking, stir the sugar mixture 2-3 times, very gently each time. Attach a candy thermometer to the side of the pan--do not let the actual thermometer touch the bottom of the pot. When the sugar has dissolved, turn the heat up to high. From here on out do not stir or otherwise bother the sugar. Keep an eye on the thermometer; you want to boil the sugar to 245-248 degrees F.
- When the sugar mixture reaches 245-248 F, slowly pour it in to the mixer bowl with the whip attachment mixing on the lowest speed. Be very careful to not let any of the boiled sugar touch your bare skin.
- After the sugar is all in the bowl, slowly increase the speed to medium low and beat for 1 minute. When the mixture is totally blended, increase the speed to high and beat for 2 minutes. Reduce the speed back down to low and add the espresso and vanilla bean seeds. Increase back to the highest speed again and beat for 8 minutes.
- During this time the mixture will becomes more opaque --because of the espresso it will never get whiter than a cream color. It will also become much, much thicker. Dredge a sturdy rubber spatula in your dredging mixture (either cocoa powder or powdered sugar).
- Here comes the exasperating part--but with practice it will become less tricky. Lower the mixer bowl with the mixer running, to fling the fluff off of the whip attachment. Turn off the mixer and quickly undo the whip attachment and set it aside--accept that you will lose some fluff sticking to it. Using the dredged spatula, quickly and firmly scrape the marshmallow fluff into the prepared baking pan. It will astound you how fast it sticks to everything!
- When I first started making marshmallows I saved that sticky fluff like it was gold and spent long minutes scraping it into a cup of hot chocolate. Nowadays either the kids lick it off or I just throw it in the sink and accept it as lost--until these marshmallows. This flavor variation, well, my 4 year old found me attempting to lick the whip and bowl and getting marshmallow all over myself. It was that good.
- Sprinkle the mini chocolate chips all over the marshmallow fluff in the pan (before wasting time licking the whip!). Take a few tablespoons of powdered sugar and sprinkle it around the edges of the pan, right up against where the marshmallow meets the sides of the pan.
- The marshmallows now need to cure by sitting out at room temperature for 6-8 hours, or even overnight if that works into your schedule better. If it is particularly humid, it may take longer. At the end of the time, take a narrow spatula and run it along the sides of the pan to loosen the marshmallow cake. You will be astounded at how it all lifts out in one gigantic marshmallow cake--quite easily.
- Place the marshmallow on a wooden cutting board and have a bowl of the dredging mixture sitting at the ready. Slice the marshmallows with a large chef's knife, dredged in powdered sugar or cocoa powder. Use a swift, decisive, downward slicing motion, kind of like mincing an herb but more time between slices. Do not try to saw at the marshmallows. The marshmallow center will stick to the knife--just pull it off and keep going. As you slice each individual marshmallow, dredge it in the cocoa powder and set it aside in a single layer. You may need to keep re-dredging the knife in the cocoa powder as well.
- Store in a single layer in an airtight container. Marshmallows for plain eating are good for at least a week. Marshmallows for dipping and melting in hot chocolate will last far longer, since a little drying out is not noticeable.
Looking for a collage to pin?
Some of my favorite flavors all in one!!
holy cow, these look amazing! love the chocolate on top too! pretty! marshmallows are so sexy.
I think these are the prettiest marshmallows I've ever seen!
I'm sure I would love them since I am such a coffee fanatic! I give you a lot of kudos for making marshmallows. I have yet to attempt making them!
Wow, you're the first blog I've read this morning and I so want these! I haven't tried making marshmallows yet, but they certainly look awsome Laura.
Oh wow. I thought, once I received my Kitchenaid artisan stand mixer, that my Kitchenaid envy would forever disappear. But, between this post, and the one for the mint marshmallows, it's back in full force. Both look AMAZING. Now…who do I know with a stronger mixer than I have, who may be willing to let me share their kitchen…?
Your Kitchenaid artisan stand mixer will do just fine. [Disclaimer: this has not been tested by The Spiced Life.]
That's it… you've done it now. I don't have room on my plate in the few weeks left of this year, but next year I am definitely going to try making my own marshmallows.
well, i certainly won't be finding these in a kraft bag at the store!
are you as bored with flashforward as i am?
Those are seriously incredible looking, wow!! Just yum and especially creamy.
Oh my, wow! These sound especially awesome. I would not be able to stay out of them either.
These look DIVINE! Would love to make them, but would like to use something other than gelatin… What do you recommend?
Agar Agar is much more powerful to use than gelatin. It’s also preferred by vegans since it is a plant product, not an animal product.
These look great! I bet they would make a lovely holiday gift!
I never thought I'd be craving marshmallows. This looks seriously nee-dto-make delicious.
I'm not much of a coffee fan but these look divine!
I normally do not like marshmallow but holy cow these look amazing! I think I would put a big chunk of that in hot chocolate
Viviane: sorry to take a while getting back to you. I honestly have no idea. I think some recipes use egg whites, but I suspect they use gelatin as well.
Agar agar would be a great substitute. I use it to stabilize whipped cream, buttercreams, cream cheese frostings, and my signature Mock Whip Frosting – that uses 1 cup liquid.
Those look delighful! I bet they'd make a lovely gift. I like the chocolate chips sprinkled on top. Very pretty touch.
~ingrid
I find this confusing – In heavy bottomed, copper or stainless steel, 2-3 quart saucepan, add 9 T. water, syrup, sugar and salt. Attach candy thermometer to side of pan-do not let touch bottom of pot. Place pot on low heat and cover.
Dump other water over gelatin – let sit 15 minutes.
How do you cover a pot with a candy thermometer in it? And, when do you dump the other water over the gelaltin? Before or after cover the pan?
Apologies, I have edited for clarity. Basically you cover the pot while measuring the gelatin and other water. Pour the water over the gelatin and then remove lid and proceed.